Setting up PXE Booting
Use PXE booting to boot computers via the network, requiring no local storage. Great for anything where a physical boot medium is inconvenient or impractical.
I’ll be using the [netboot.xyz] project’s netboot image. It utilizes iPXE to enable booting over HTTP, so we don’t have to download and maintain any bootable images ourselves.
pfSense configuration
On my home network, pfSense operates as my router and DHCP server. PXE booting asks the DHCP about where to find a TFTP server with bootable media.
We need a TFTP server
There’s a package for a TFTP server in the pfSense package repositories. After installing successfully, we’ll configure it.
Under Services > TFTP Server, we can find the configuration details. The only thing we really need to touch, is adding the netboot.xyz kpxe file) to the root of the TFTP server.
With that one file, we’re ready to move on.
DHCP configuration
This part will be easy, with only three values to add.
Under the “TFTP” portion, we add the IP of pfSense interface that our clients can access to the “TFTP Server” field.
Under the “Network Booting” portion, we enable network booting.
Also under “Network Booting”, we add the same IP as the TFTP server IP from before into the “next server” value.
Finally, also under “Network Booting”, we add the
netboot.xyz.kpxefilename to the “Default BIOS file name”
Hit save to apply our settings and reload the service as prompted, and away we should go.
Using PXE Booting.
Using my ThinkPad laptop, when wired into the LAN served by pfSense, if I hit F12 for one-time-boot options and selected the network interface, it grabbed the relevant configs from DHCP, found the netboot.xyz boot image, and was able to live-boot into any distro supported by them.
Similarly, using KVM virtual machines, it does work, given one caveat. I found that, with STP enabled, the guest does not get the DHCP first try. A quick [ctrl] + [alt] + [del] to reboot host does the trick, or send the keys via the “Send Keys” menu. It grabs it second time around. This is because, on a cold boot, STP doesn’t let the DHCP go through in time for the guest. This may be because both the guest and pfSense are VM’s on the same host, the way my home server is set up, but, either way, figured I’d note this in case it comes up for anyone.
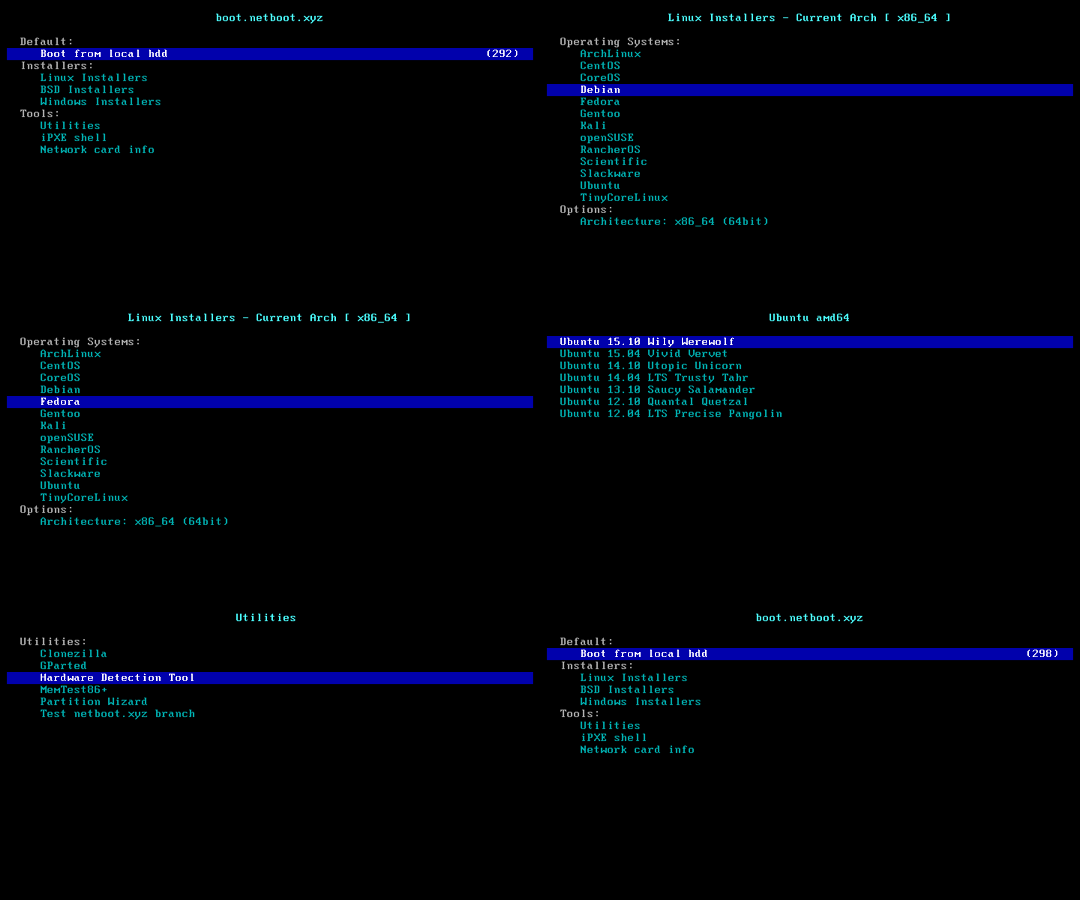
Using the menus provided by netboot.xyz, you can boot into many different linux distributions and live environments, or even Windows images, if you go that route.
Anyway, I set this up figuring it’d be more convenient than regularly downloading .ISO’s and writing them to USB’s and keeping track of what USB has which .ISO on it and so on.
Good luck getting yours set up!
